Home
Table of Contents
- Add Noctaly to Your Discord Server
- Make an Auto Responder
- Message Options
- Filter Options
- Configure the Message of the Auto Responder
- Desktop
- Mobile
- Create the Message
- Set the Message to the Auto Responder
- Troubleshooting
- The trigger doesn't send the message
- The response message gets deleted automatically
- The auto responder doesn't reply to the message
How to Make an Auto Responder on Discord
Last update: June 9, 2026

Add Noctaly to Your Discord Server
Set up Noctaly in your Discord server to start using the Auto Responder.
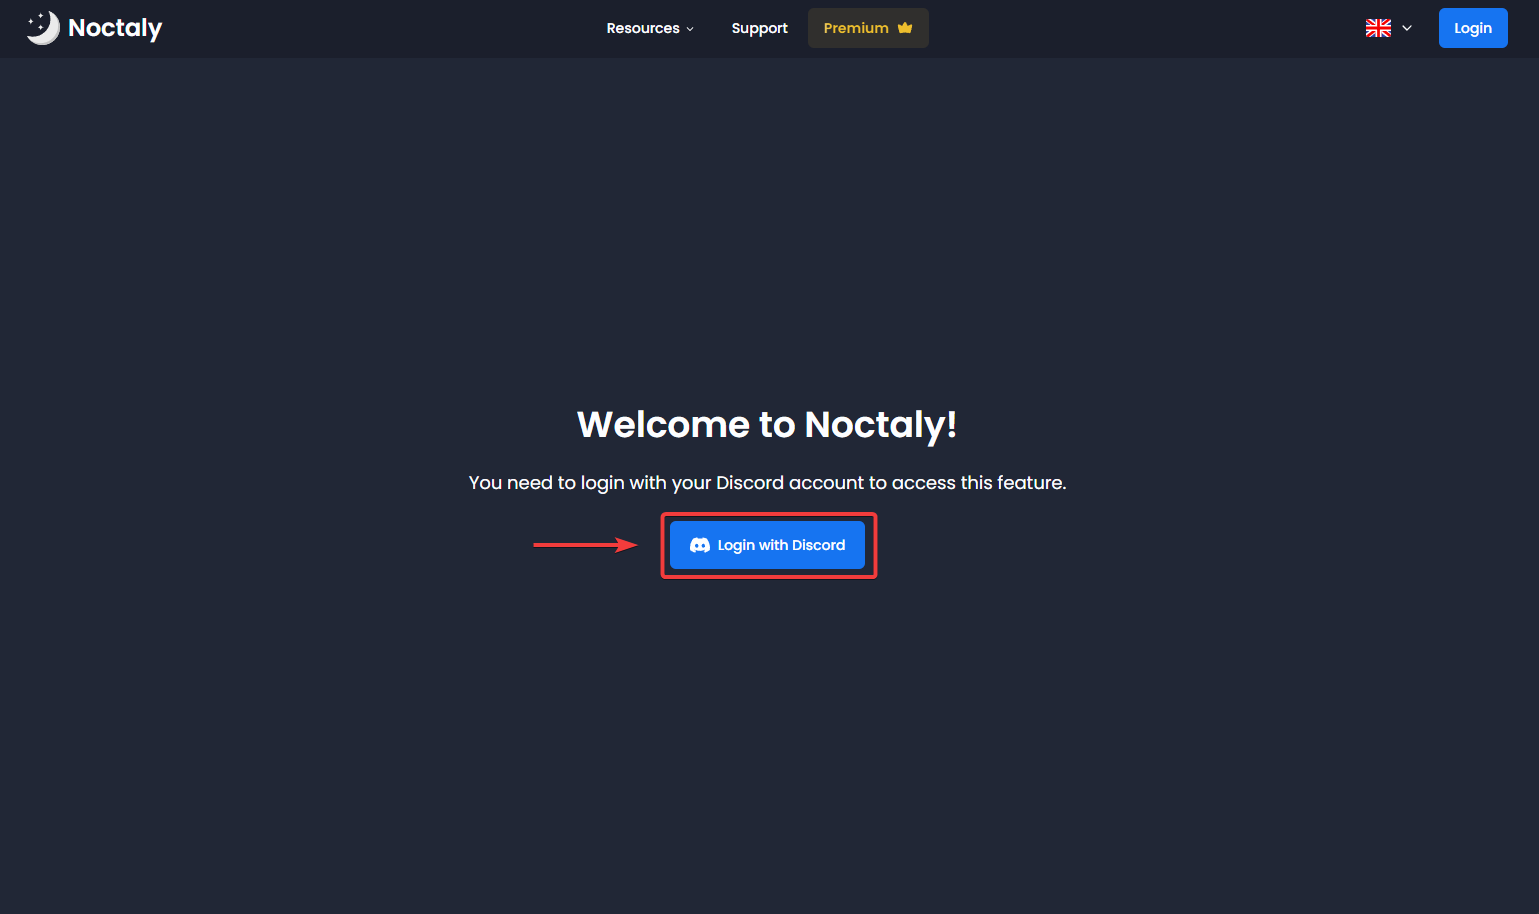
- Go to the Dashboard and log into your Discord account.
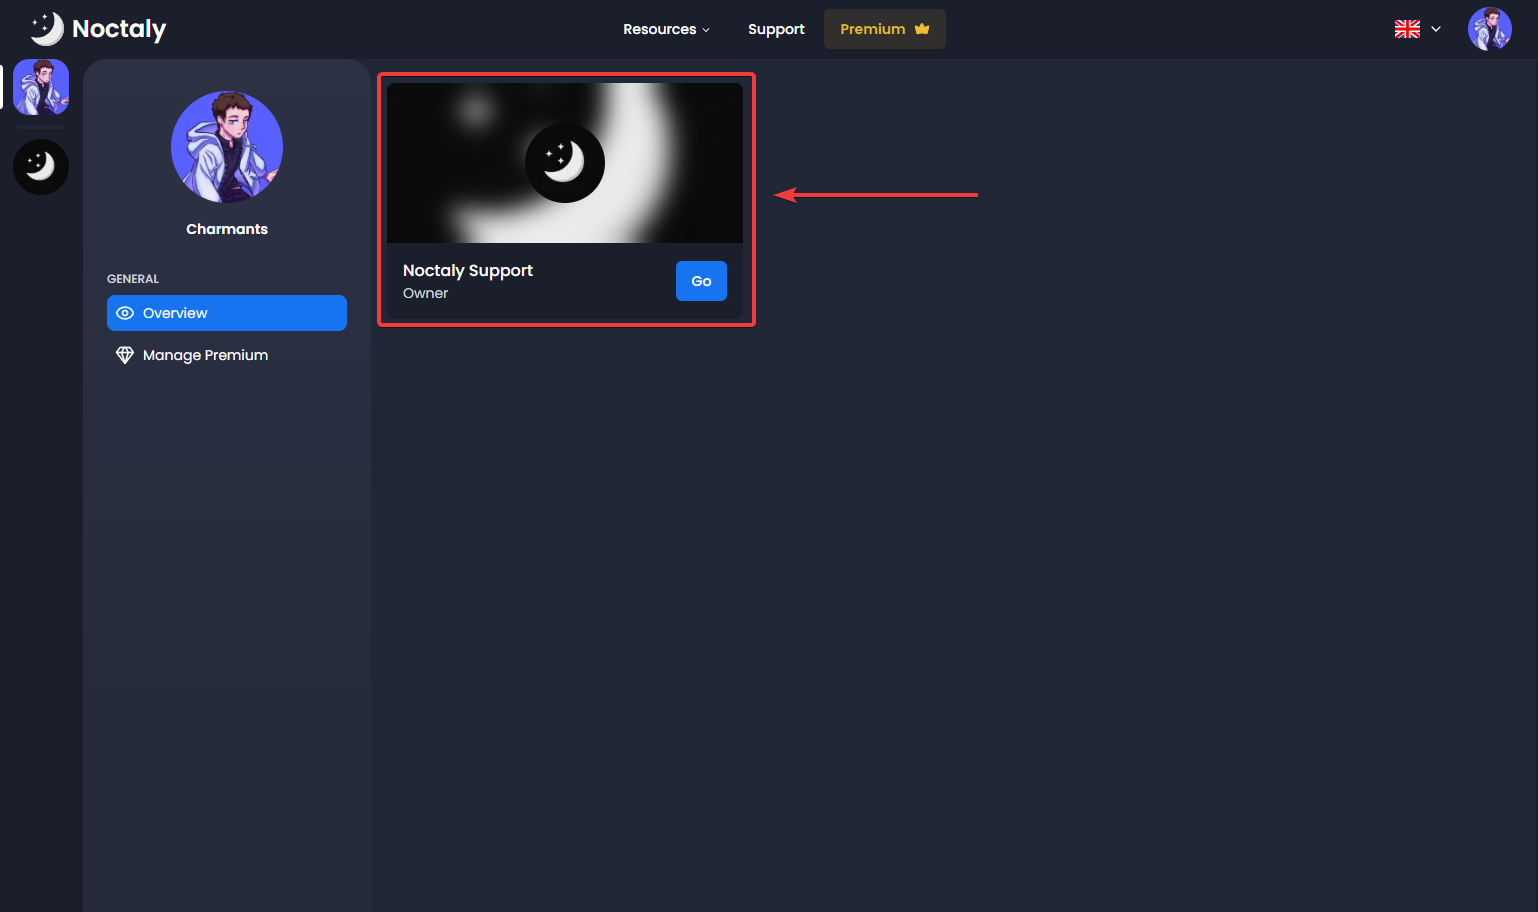
- Select the server you want to setup the Auto Responder in.
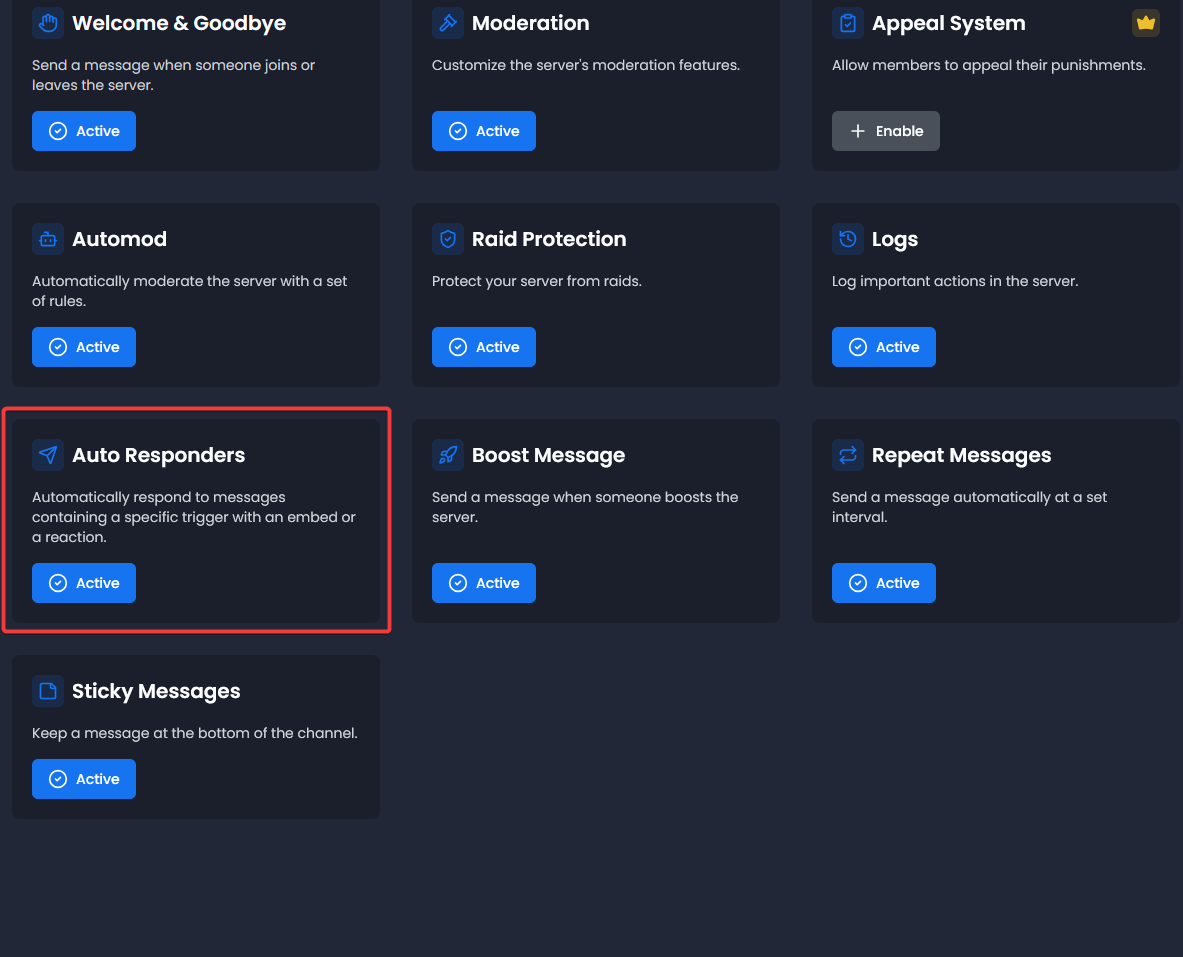
- Click on the Auto Responders module.
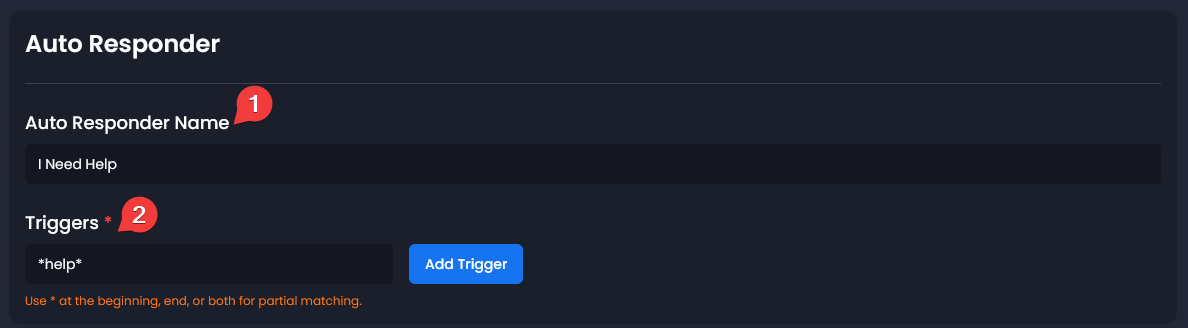
Make an Auto Responder
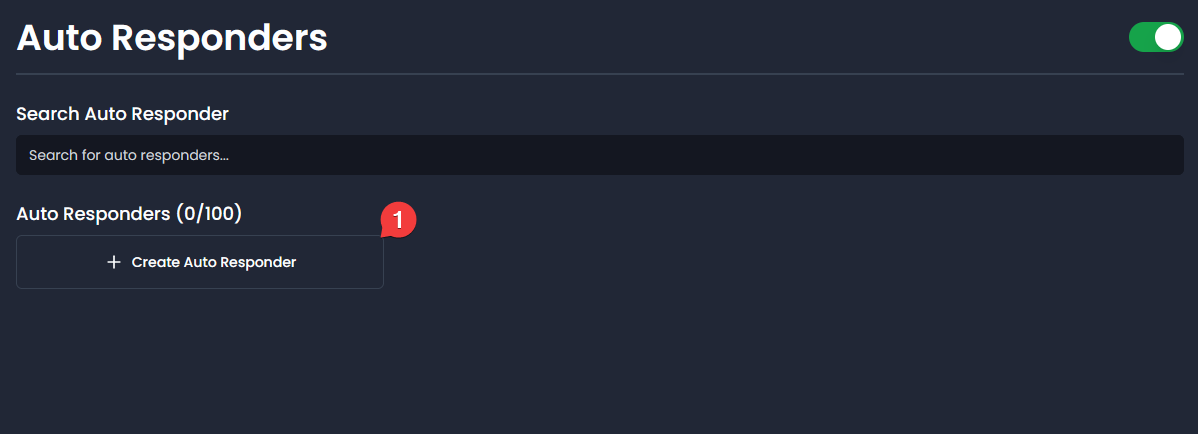
- Click on Create Auto Responder.
- Configure the basic settings:
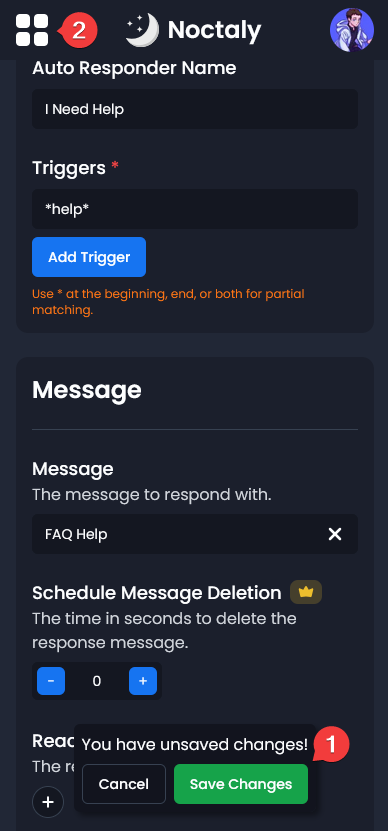
- Auto Responder Name: A custom name to organize your auto responder.
- Triggers: Words or phrases that activate the auto responder.
- Supports exact matches and wildcards like
hello*or*help*.
NoteTriggers are case-sensitive and require exact matches unless wildcards are used.
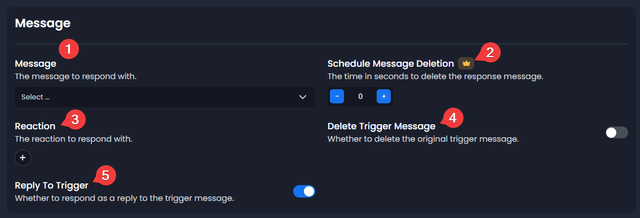
Message Options
Define what Noctaly does when a message is triggered.
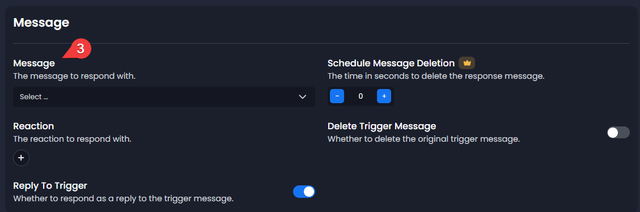
- Message: Select the message Noctaly should send.
- Schedule Message Deletion: Automatically deletes Noctaly's response after X seconds (set to 0 to disable).
- Reaction: Noctaly will react to the triggering message with your chosen emoji.
- Delete Trigger Message: Delete the message that matched the trigger.
- Reply To Trigger: Send the response as a reply to the triggering message.
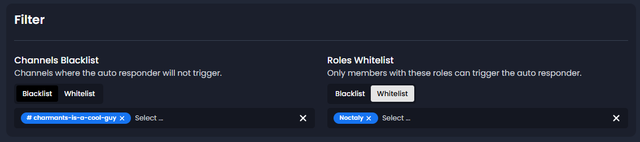
Filter Options
Restrict where and who can use the Auto Responder.
- Channels Whitelist: Only selected channels can trigger the auto responder.
- Channels Blacklist: Prevent selected channels from triggering the auto responder.
- Roles Whitelist: Only selected roles can trigger the auto responder.
- Roles Blacklist: Prevent selected roles from triggering the auto responder.
NoteLeave filters empty to allow everyone and every channel.
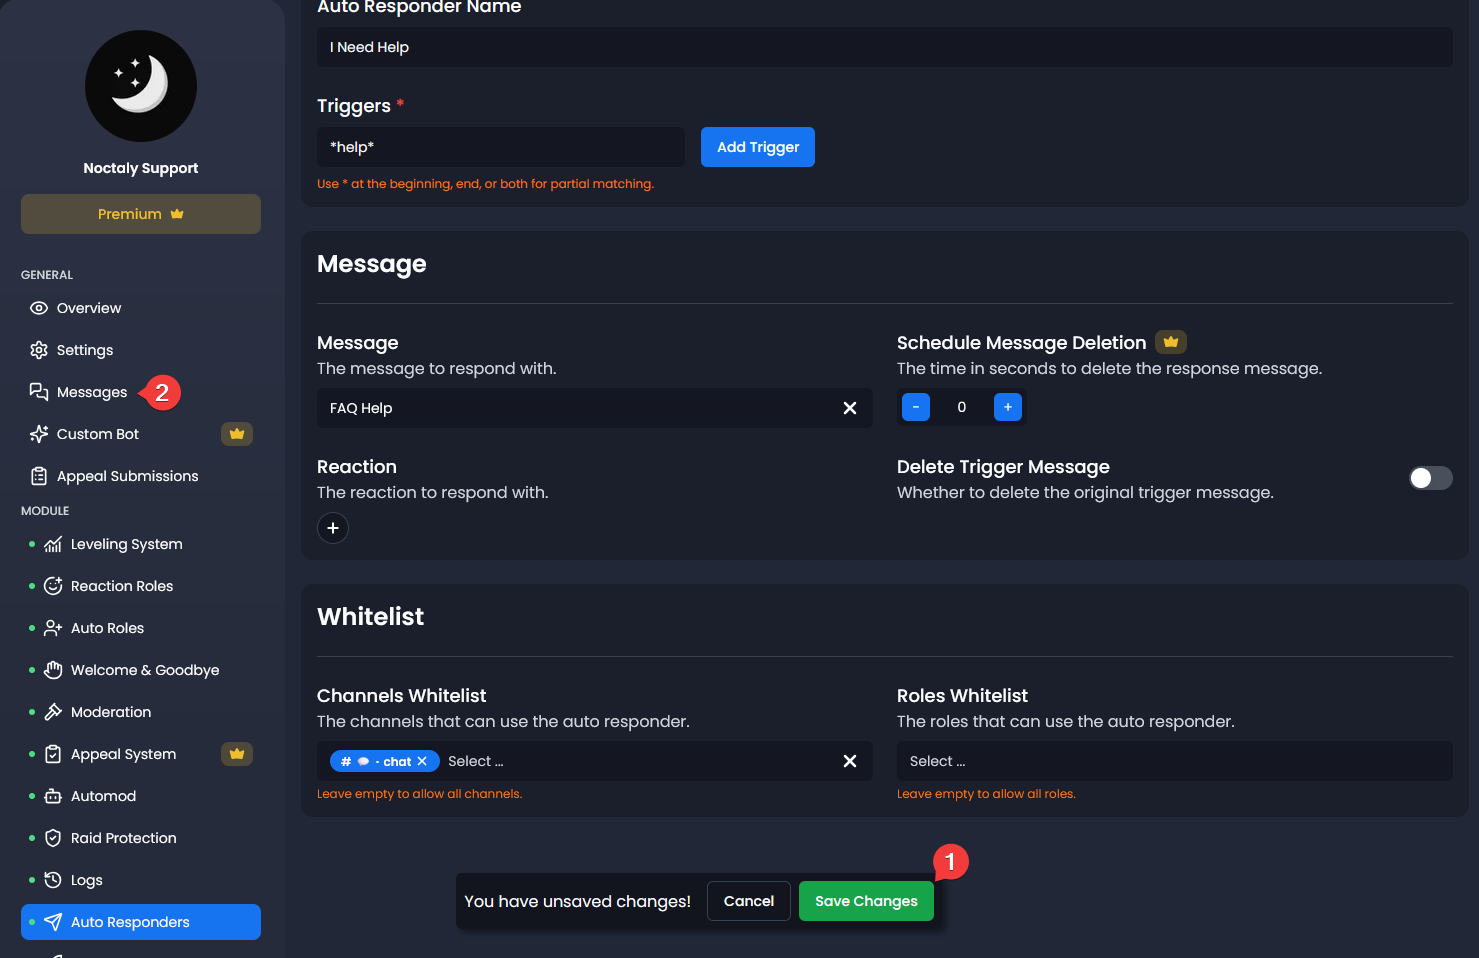
Configure the Message of the Auto Responder
Define what Noctaly sends when triggered. The following steps change slightly if you are on desktop or mobile. Don't forget to save!
Desktop
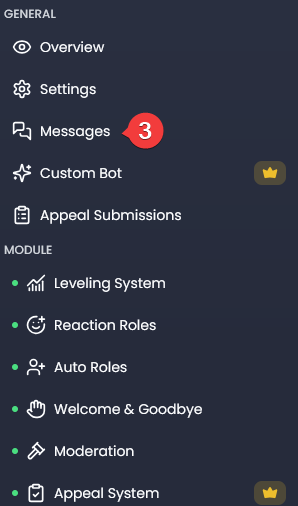
- On the Dashboard sidebar, click on the Messages module.
Mobile
- On the Dashboard , click on the four squares at the top left of your screen.
- Click on the Messages module.
Create the Message
- Click on Create a Message.
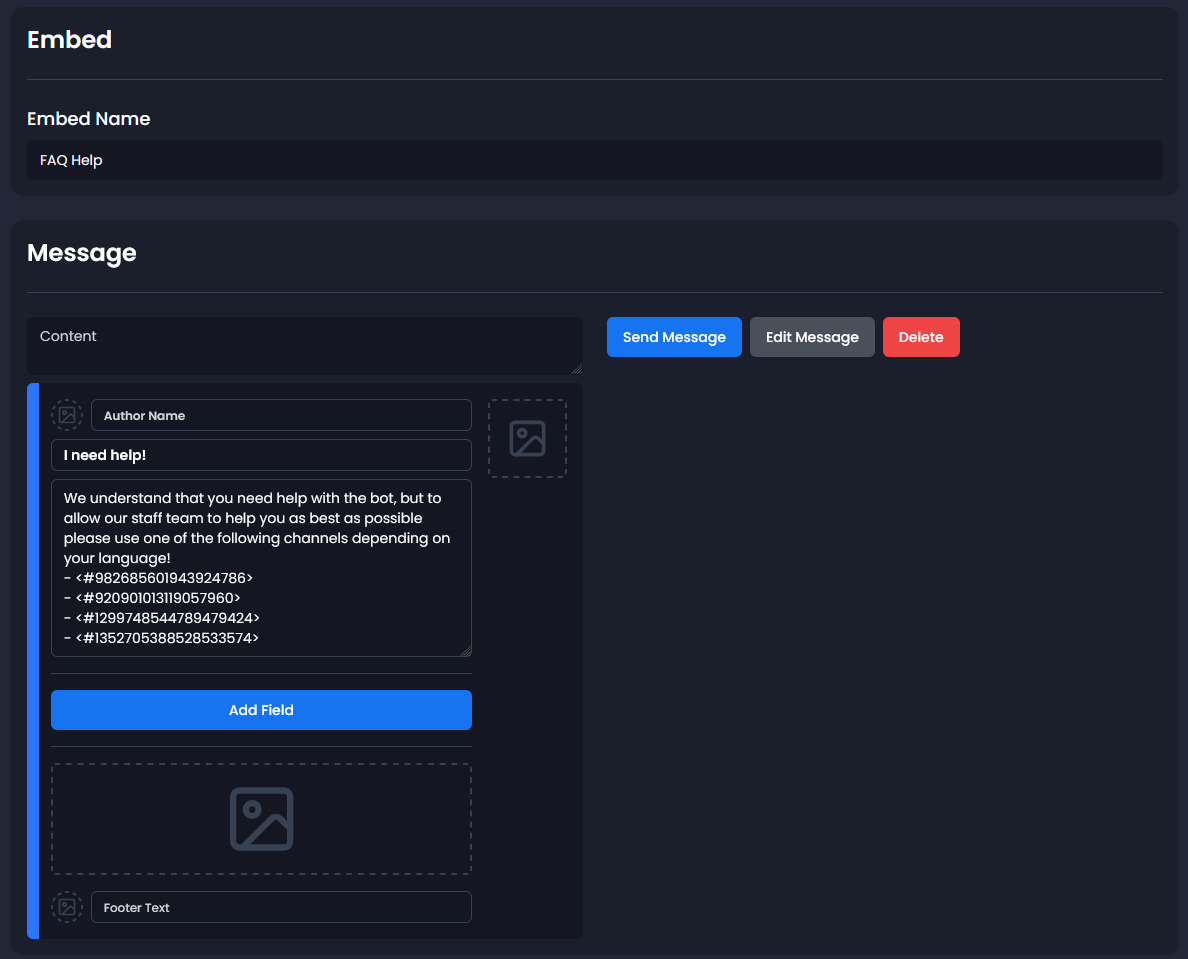
- Choose between a Component or Embed message.
- Configure your message:
- Name: You can give a name to your message to find it more easily if you have more than one.
- Fill: Fill the message as you like!
NoteNeed help creating the component message? Check the Components V2 tutorial !
Set the Message to the Auto Responder
- Return to the Auto Responders module.
- Click on your Auto Responder.
- Select the message you've created in the Message option.
Troubleshooting
The trigger doesn't send the message
- Ensure exact case-sensitive matches.
- Use
*for partial matches like*help*. - Verify that the selected message contains content.
- Check whitelist or blacklist restrictions for channels and roles.
- Ensure the auto responder is properly saved.
The response message gets deleted automatically
- Verify the Schedule Message Deletion value.
- Set the value to
0to disable automatic deletion.
The auto responder doesn't reply to the message
- Enable the Reply To Trigger option in the Message settings.