How to Make a Reaction Roles on Discord

NoteIf you prefer a video tutorial, there's a YouTube video that explains how to make a reaction roles with Noctaly.
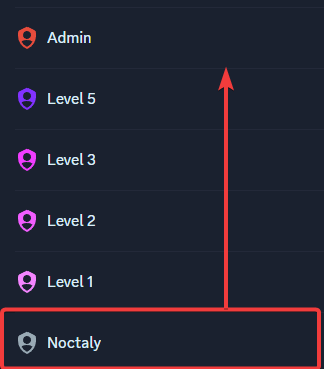
Add Noctaly to your Discord Server
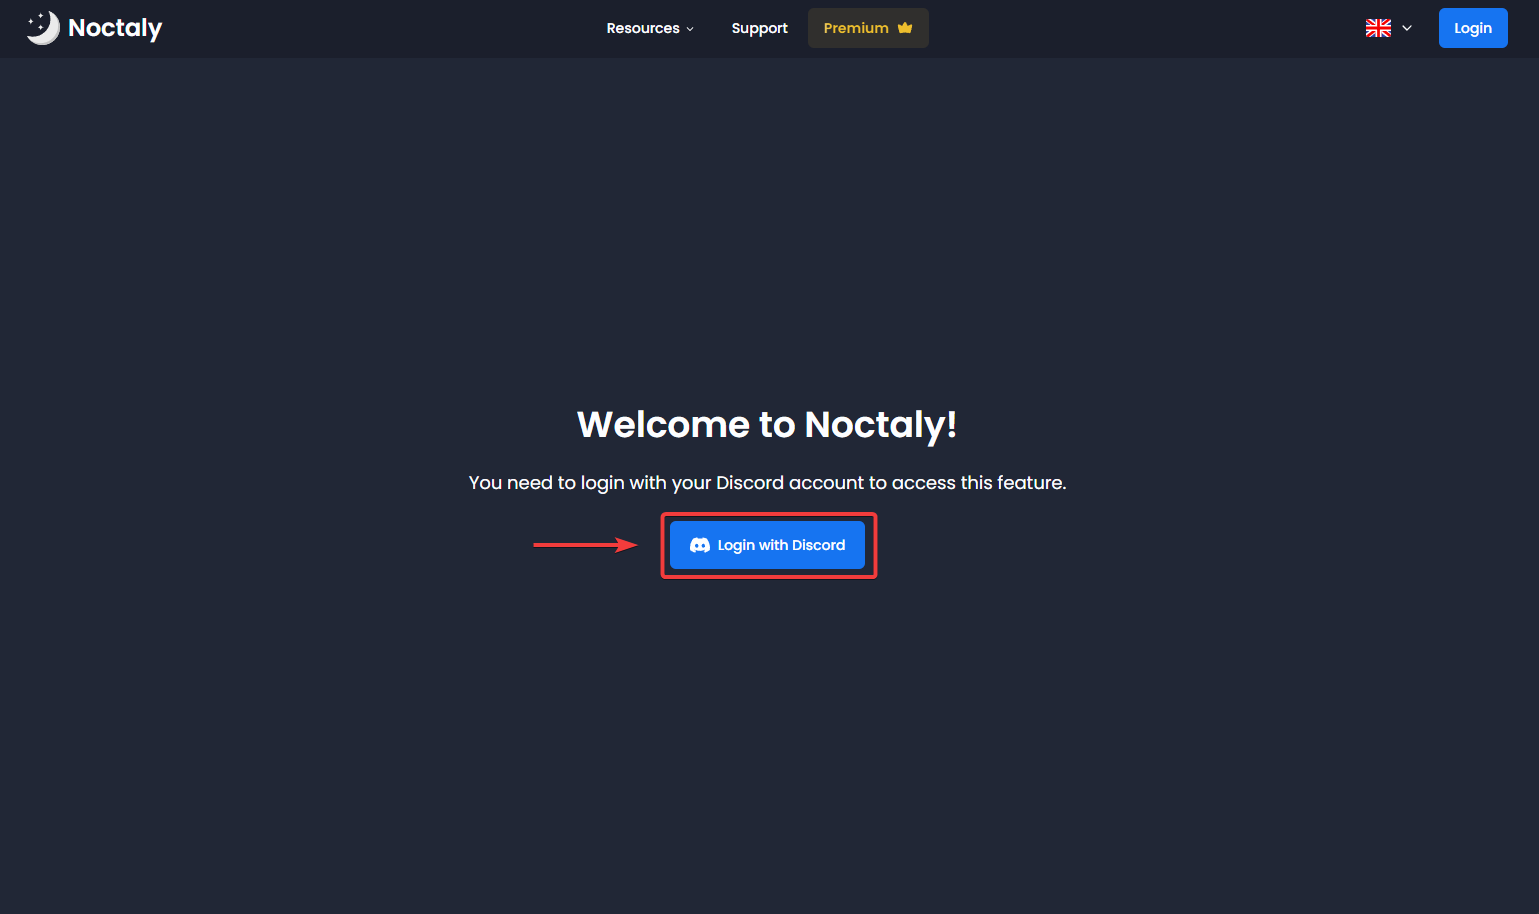
- Go to the Dashboard , and login to your Discord account, if needed.
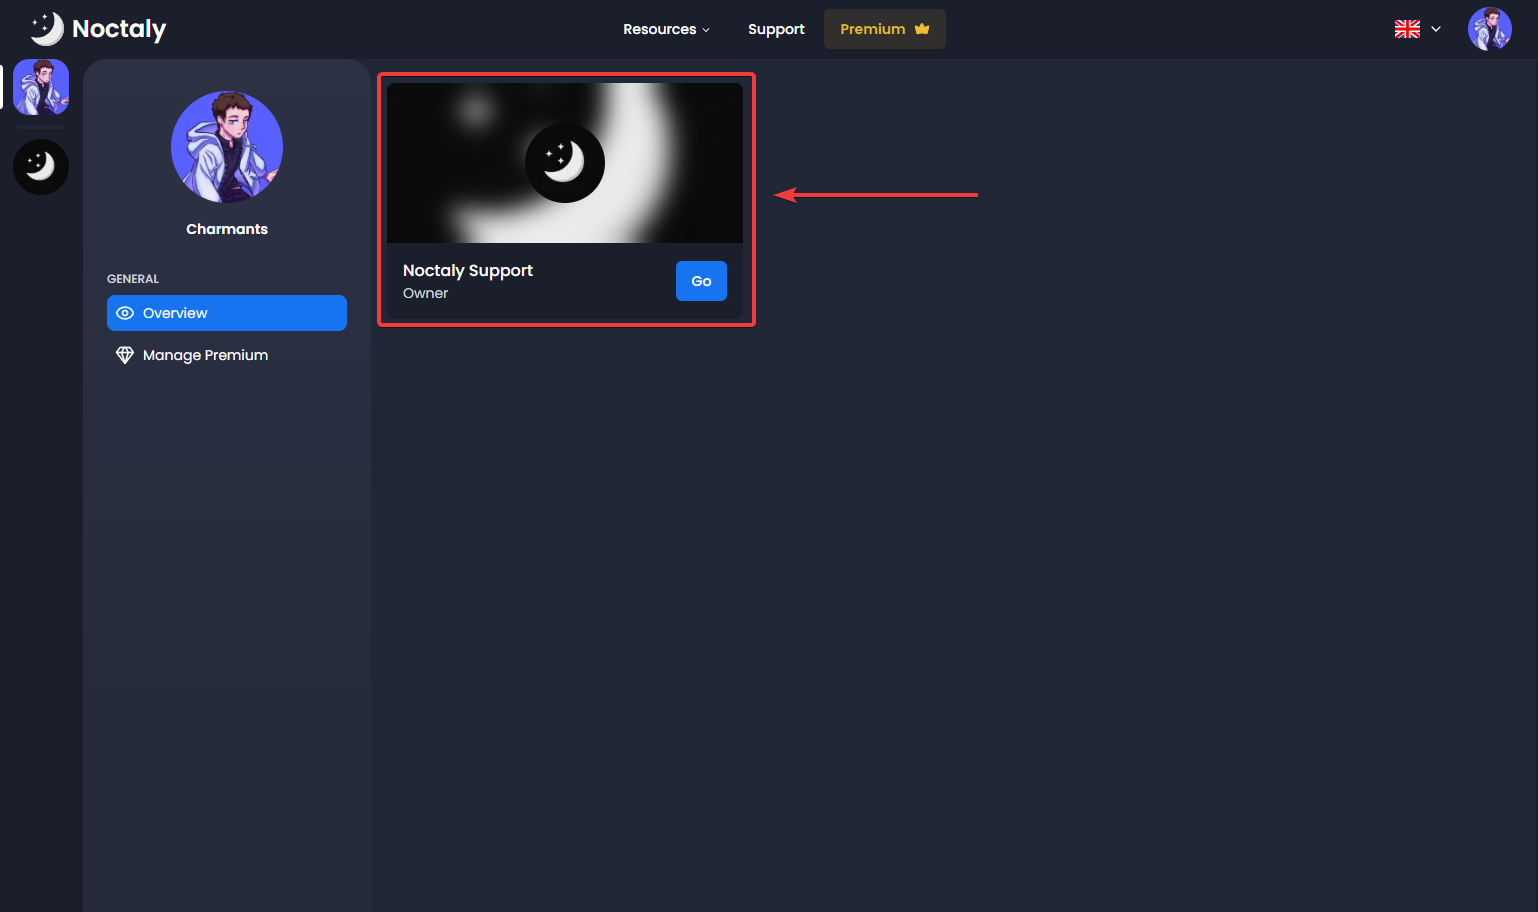
- Select the server you want to setup the Reaction Roles in.
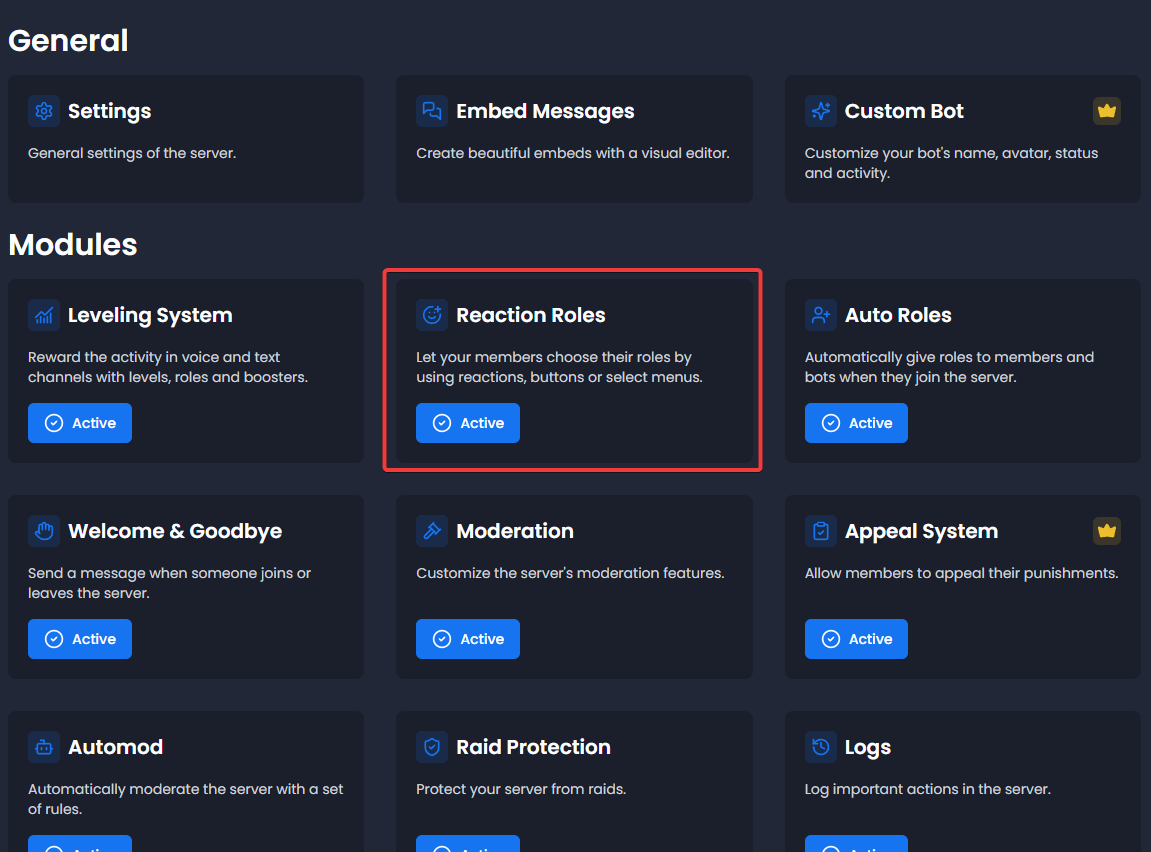
- Select the Reaction Roles module.
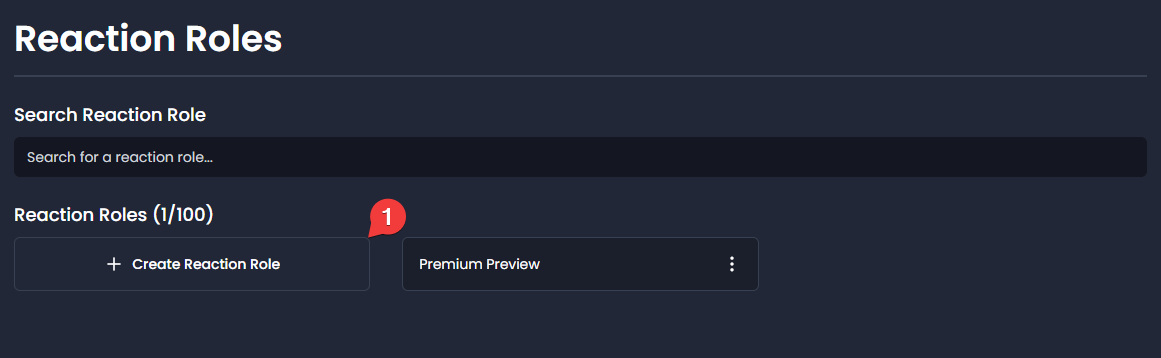
Make a Reaction Roles
- Click on Create Reaction Role.
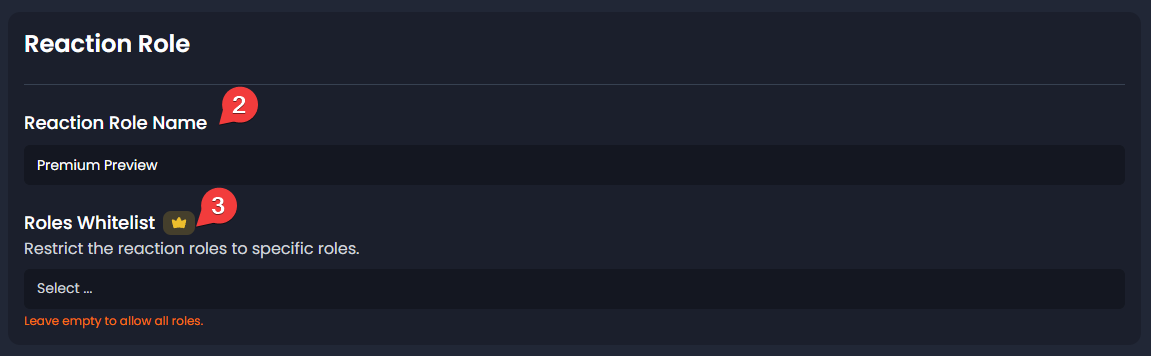
- Reaction Role Name: You can give a name to your reaction role to find it more easily if you have more than one.
- Roles Whitelist: This option allows you to restrict reaction roles to certain roles. This option is often used for reaction roles that give roles only to members who boost the server or have a special role.
Add the Roles to the Reaction Roles
We've skipped the message section for now, but we'll return to it once the roles have been added.
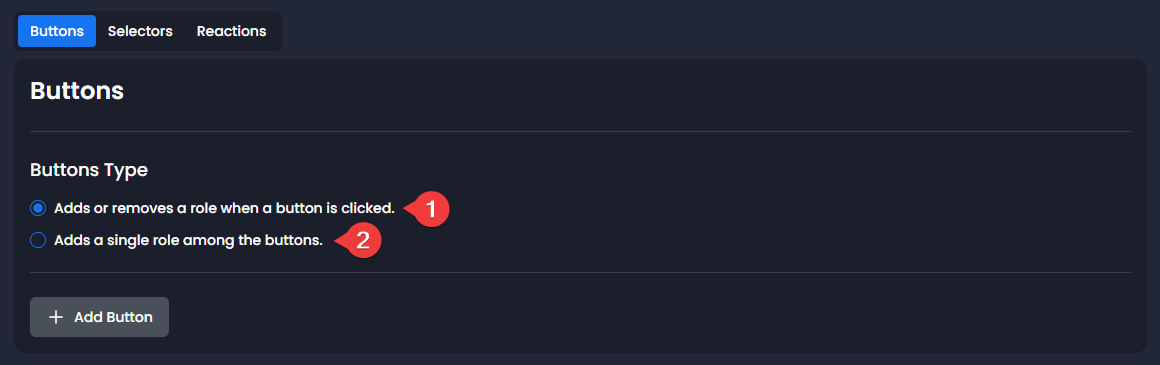
You have the choice between multiple types of reactions : Buttons , Selectors and Reactions . You can choose one or combine them, it's up to you. The following sections will focus on each one of them.
Configure the Button Roles
The button is the best option if you have a few roles to give.
Buttons Type: You have the choice between two options:
- The first is the behavior that most users except. When someone clicks on the button, the role is given to them, and if they already have the role, it is taken away from them.
- The second means that the user can only have one role among all the buttons. If they click on another button, they will obtain the role, and the previous one will be removed.
Once we've chosen the buttons type, we can start creating our buttons:
- Click on Add Button.
- You can set an emoji to the button.
- You can set the label of the button. This is the text displayed on the button. Buttons must at least have a label or an emoji.
- You can choose the color of the button. The color cannot be customized on Discord, these are the only 4 colors available.
- The most important step: select the role(s) to add. With a premium subscription , you can add multiple roles per button. It's particularly useful for verification processes or for assigning separator roles. Do you see a warning?
- Repeat steps 1-5 until you have all the buttons you want.

Configure the Selector Roles
The selector is the best option if you have many roles to give.
- Click on Add Selector.
- You can set a placeholder. This is the text displayed on the selector.
- You have the choice between two options:
- The first is the behavior that most users except. When someone clicks on one or more options, the roles are given to them, and they lose the roles that they didn't select.
- The second means that the user can only have one role among all the options. If they click on another option, they will obtain the role, and the previous one will be removed.

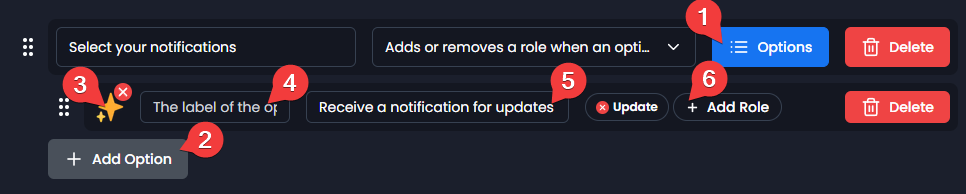
Once we've created the selector, we can start creating our options:
- Click on Options (or the list icon on mobile).
- Click on Add Option.
- You can set an emoji to the option.
- You must set the label of the option. This is the text displayed on the option.
- You can set the description of the option. This is the text displayed under the option label.
- The most important step: select the role(s) to add. With a premium subscription , you can add multiple roles per option. It's particularly useful for assigning separator roles or roles related to each other. Do you see a warning?
- Repeat steps 2-6 until you have all the options you want.
Configure the Reaction Roles
The reaction is the best option if you have a few roles to give and you want to count the number of reactions. Usually, the button option is preferred because it's more customizable than a reaction.
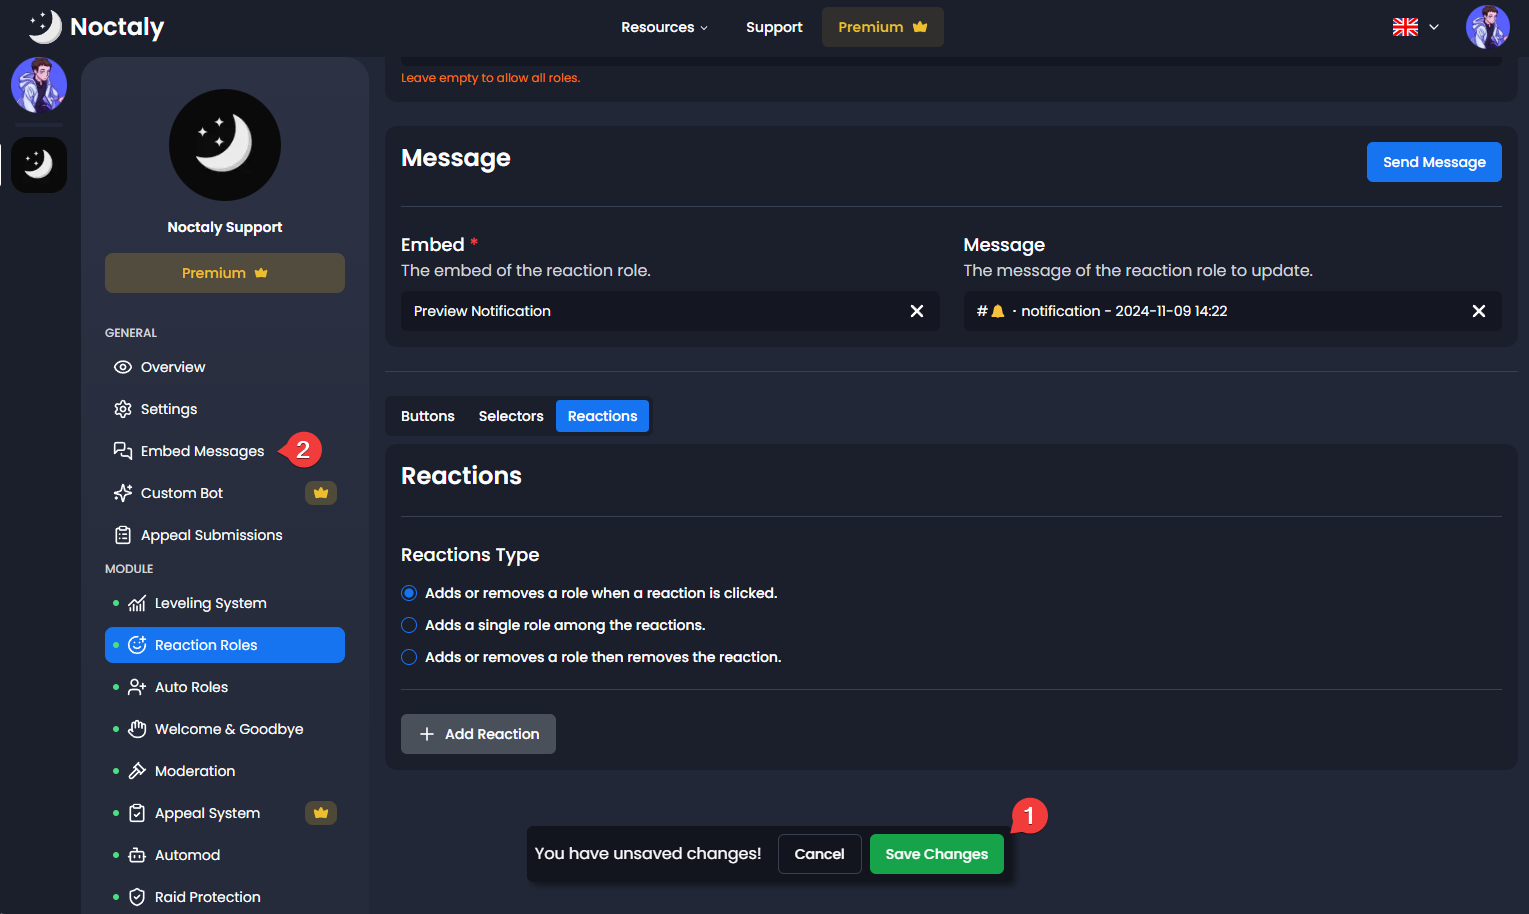
Reactions Type: You have the choice between three options:
- The first is the behavior that most users except. When someone clicks on the reaction, the role is given to them, and if they remove the reaction, the role is taken away from them.
- The second means that the user can only have one role among all the reactions. If they click on another reaction, they will obtain the role, and the previous one will be removed.
- The third is similar to the first option, but when the user clicks on the reaction, it removes itself.
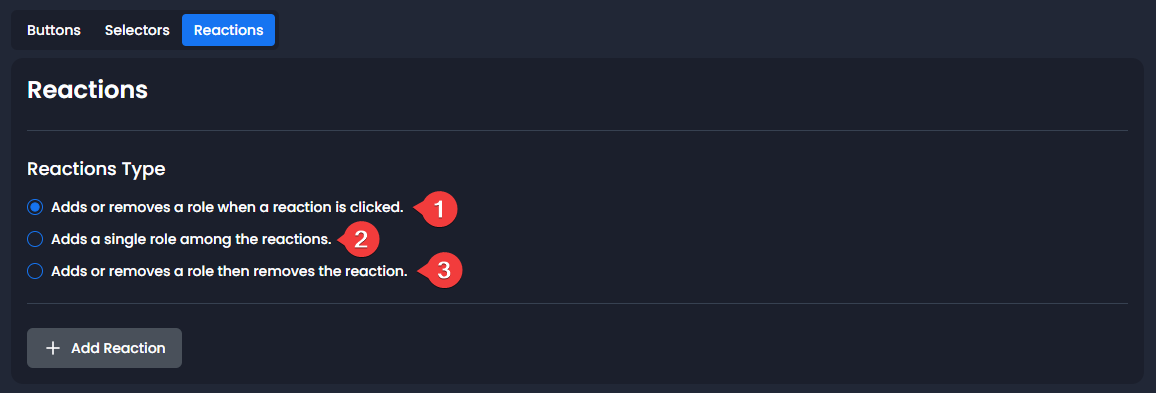
Once we've chosen the reactions type, we can start creating our buttons:
- Click on Add Reaction.
- You must set an emoji to the reaction.
- The most important step: select the role(s) to add. With a premium subscription , you can add multiple roles per reaction. It's particularly useful for verification processes or for assigning separator roles. Do you see a warning?
- Repeat steps 1-3 until you have all the reactions you want.

Configure the Message of the Reaction Roles
It must have taken you a while, but don't worry, it's almost over! Now that the roles are configured, we'll make the message. The following steps change slightly if you are on desktop or mobile. Don't forget to save!
Desktop:
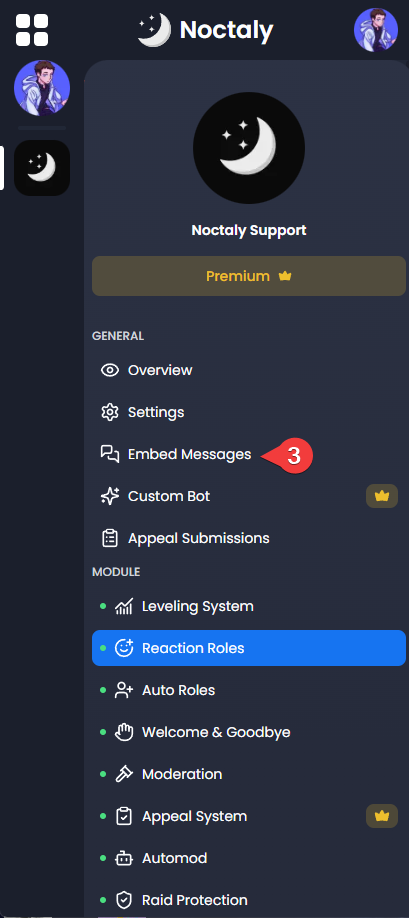
- On the Dashboard sidebar, click on Embed Messages module.
Mobile:
- On the Dashboard , click on the four squares at the top left of your screen.
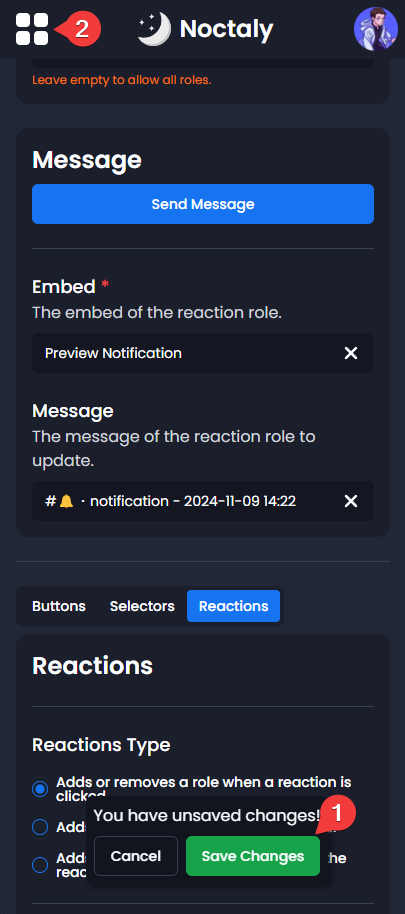
- Click on the Embed Messages module.
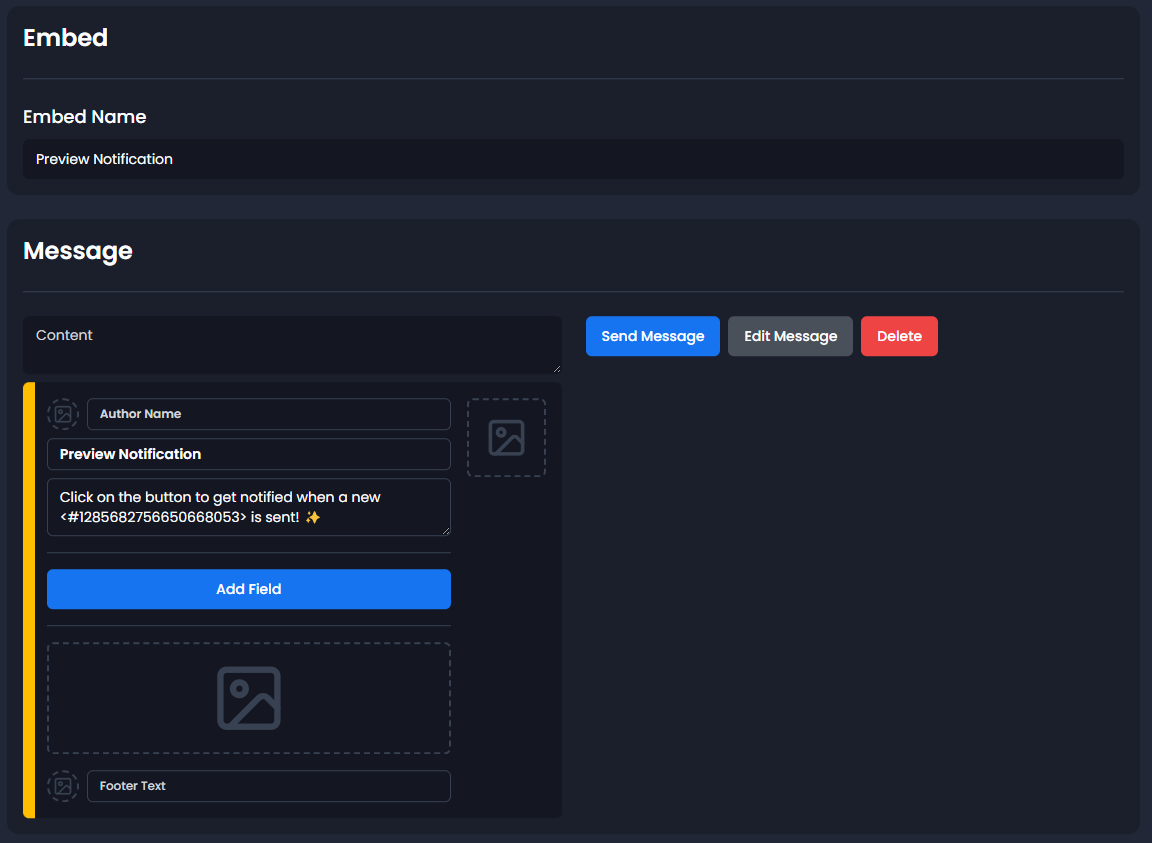
Create the Embed Message
- Click on Create an embed.
- Embed name: You can give a name to your embed to find it more easily if you have more than one.
- Fill the embed as you like!
NoteWe recommend listing the roles and optionally explaining them. This lets members know which roles are right for them.
Set the Embed Message to the Reaction Roles
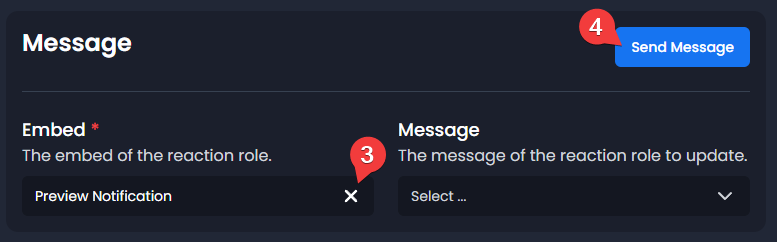
- Once you're satisfied with your embed, you can return to the Reaction Roles module. These are the same steps as for the Embed Messages module, but for Reaction Roles.
- Click on your Reaction Roles.
- Select the embed that you've made in the Embed option.
- Click on Send Message.
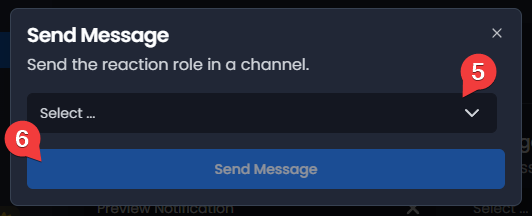
- In the select menu, select the channel where you want to send your Reaction Roles.
- Click on Send Message.
Congratulations, you're all done! If you've followed all the steps correctly, the reaction roles should have been sent to the channel.
Troubleshooting
Q: I see an orange warning next to the roles I want to add.
A: Make sure that the role Noctaly is higher than the role you want to add.